Weekly nail art tutorial: Gingham
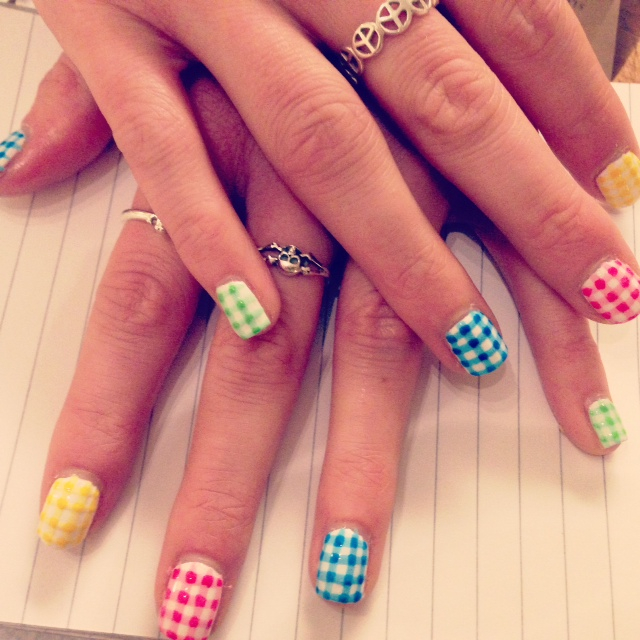
For our second tutorial we’re already getting ready for summer (how much longer?) with this really pretty pastel gingham design. It does require a steady hand, but once you’ve mastered it, you’re ready to re-create it with loads of different colour combinations, making it the perfect design every season.
What you will need:
Base coat (we used Sally Hansen Double Duty)
White-coloured polish (we used Essie “Blanc”)
Your choice of colour(s) – you must have a light and dark shade of each colour you use
Top coat (we used Seche Vite top coat)
A short striping brush (you can buy these online, we got ours at Sally’s)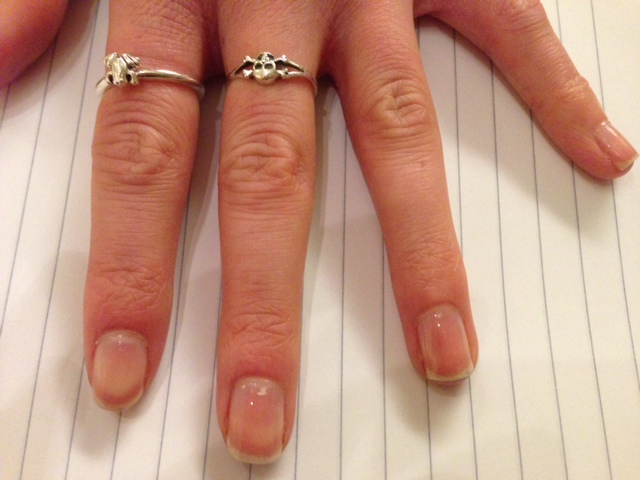
1. Apply a single coat of clear base coat and allow to dry. This coat will protect your nails and prevent them from staining.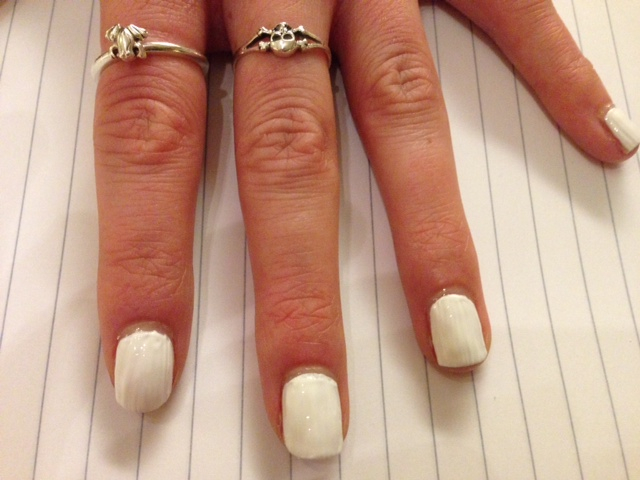
2. Apply a thin coat of a white-coloured polish over the entire nail. Leave to dry before applying a second coat.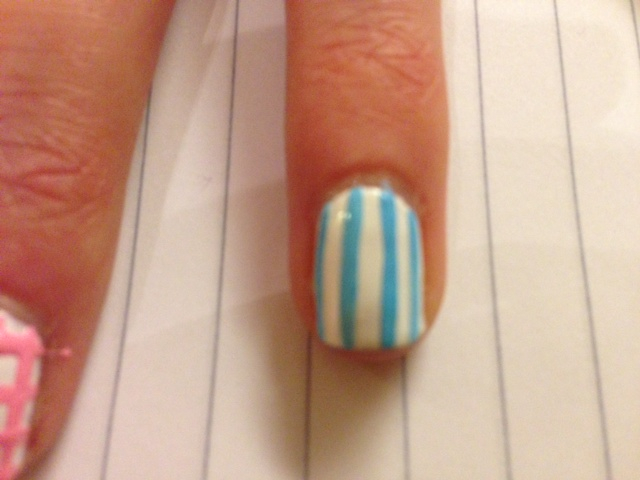
3. Choose the lighter shade of your first colour and dip your striping brush into this polish. With a steady hand, paint a line down the middle of the nail, from top to bottom. Repeat either side of this line, keeping your spacing equal.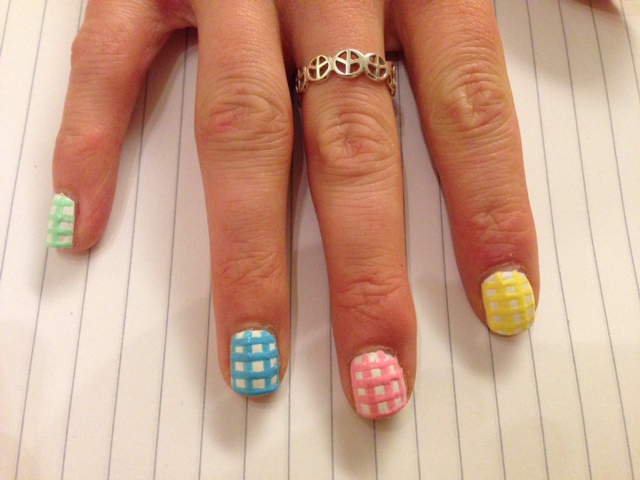
4. Next, paint on your horizontal lines. Start in the middle again and make sure your spacing is equal. When you’ve finished this step, you should have a grid design (fingers crossed!)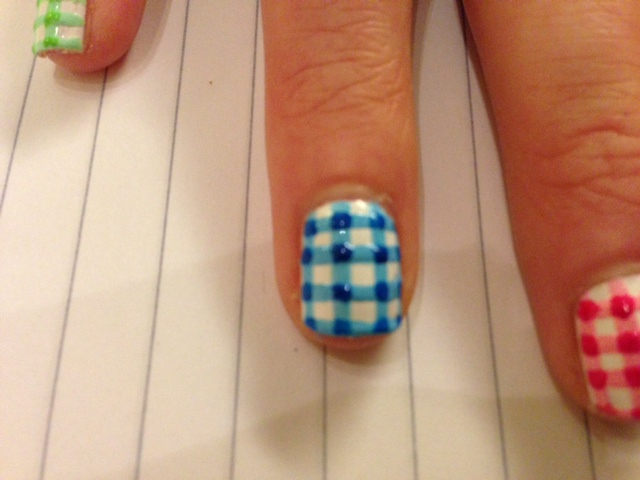
5. Now get your darker shade. Clean your brush using nail polish remover (the pads are great for this job) and dip into your darker colour. Where each vertical line crosses a horizontal one, paint a small, solid square.
6. Once the design is dry (this should only take a couple of minutes) you need to apply a top coat to prevent all your hard work from chipping. It’s important to really load the brush with polish and starting at the cuticle, “dab” the brush all over the nail, working from the bottom to the top. If you brush the top coat on you’re more likely to smudge the design – not desirable.
Allow to dry for ten minutes and get showing them off!
Laura McLeish






Facebook
Twitter
Instagram
YouTube
RSS