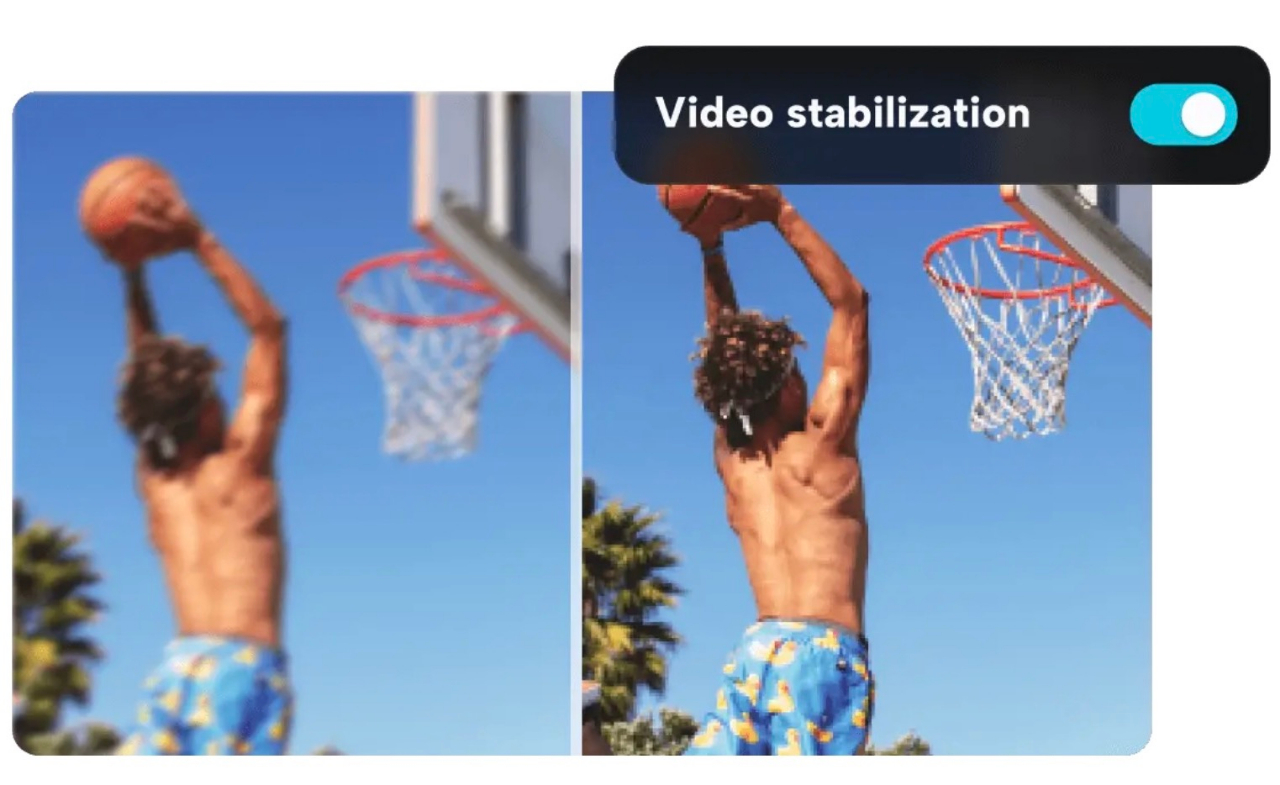
Top ten advantages of using a video stabiliser

Does one know how using a video editor for YouTube such as video stabilisation can benefit individuals in crafting artful masterpieces? A number of people around the world have adopted the use of video editors to create winning videos. An ordinary video from a random camera lens can rarely beat today’s competition. To allow videos to stand out, it is advised to start using a quality video stabiliser to enjoy its considerable advantages. This article provides a closer look at the top advantages of a video stabiliser. Now, it is time to explore them.
Ten Advantages of Using a Video Stabiliser
The use of video stabilization in the creation of superior and more interactive videos brings the following advantages:
- One-click AI & Gyroscope technology The premier advantage of using an AI video stabiliser is the inclusion of one-click AI and gyroscope technology. These technologies, AI and gyroscope, work effectively and efficiently to evaluate videos for shakiness and other defects. This technology identifies all the problematic areas of a video and corrects them swiftly.
- Fine-tuned parameters
An additional benefit of utilising such a video stabiliser is the fine-tuning of video parameters. For instance, it crafts the optimal video frame buffer and accentuates the focus on the foreground object/subject, encouraging better engagement and interactivity through refined parameters. - No more blurs
Blurry and unclear visuals can diminish a video’s charm and interactivity. Thus, employing a video stabiliser can assist in identifying and rectifying all blurriness in the visuals, enhancing the appeal of the content. - No distortions
Moreover, it targets the elimination of other defects and distortions from the footage, facilitating an increase in the video’s overall value. - Quality assurance
Similarly, another merit is the quality assurance it provides for any video processed through this stabiliser. Regardless of the content introduced into this remarkable editor, it consistently elevates the video quality, ensuring excellent results. - Clarity in visuals
Quality enhancement naturally leads to improved visual clarity. The tool addresses both these aspects, working meticulously to elevate them, proving that no video has to suffer from poor and dull visuals. - Unlimited downloads
Another perk of using a stabiliser like CapCut is the ability for unlimited downloads, offering the freedom to stabilize and download a substantial number of videos daily without restrictions. - No premium fee
An outstanding feature of this tool is its cost-effectiveness; it operates free of charge, devoid of any premium subscriptions or recurring fees, allowing for budget-friendly usage. - Fully secure and safe
Rest assured that the videos are safeguarded diligently, promising stringent privacy measures to prevent unauthorized data sharing. - No watermarks
Lastly, this remarkable video stabiliser performs all edits without imposing any watermark, preserving the originality of the content and empowering users to share their work with full confidence, unattributed to any third-party logo or brand.
How to Stabilize Video Via CapCut?
Stabilising videos via CapCut can be a quick and delightful process. To achieve this, one can follow the steps outlined below and anticipate remarkable results:
- Step 1: Free Sign-up
The initial step involves utilising the free sign-up feature that this remarkable editor offers. Absolutely free of charge and devoid of hidden costs or mandatory subscriptions, it facilitates an easy start to the video editing journey. One is encouraged to create an account and log in using the chosen credentials. - Step 2: Upload Any Video
Upon logging in, the homepage of the editor becomes accessible. Options for various tools can be found on the left side or the top panel bar of the homepage. One can navigate to the video stabilization tool and initiate it, opening a new window dedicated to this function. At this stage, a video to be stabilized can be dragged and dropped into the editor, or uploaded manually from storage.
- Step 3: Preview It
Once a video is uploaded, the system takes a few moments to process it, with AI algorithms and gyroscope sensors analysing the content and applying necessary corrections. This yields a video that is notably more stabilized, with enhanced visual appeal. To facilitate a comparison between the edited and original versions of the video, a preview option is available, allowing for a comprehensive assessment of the improvements made.
- Step 4: Export It
Following the preview process, one has the option to save or share the refined video through the video stabiliser platform. This can be done by selecting the desired option available in the export button panel, which presents various choices including download, share, or returning to the editing interface for further adjustments. The procedure can be repeated with other videos to continue creating polished content.
Conclusion
Utilising a video stabiliser for video editing yields substantial benefits. It not only alleviates shaky movements enhancing stability but also augments the overall quality, clarity, and precision of the visuals. The refined frames and optimised parameters elevate the content, rendering it more interactive and engaging. It stands as a remarkable tool for transforming ordinary videos into captivating masterpieces, inviting individuals to explore its features and capitalize on its offerings today.


Facebook
Twitter
Instagram
YouTube
RSS