How to self-tan at home
This year everyone has been spending more time than usual inside their homes due to the restrictions and lockdowns put in place due to the global pandemic. For many people, this has meant they have not been able to get out into the sunshine and top up their tan as they would have liked to. Some people do not tan easily and tend to simply burn but still want to have that sun-bronzed glow. Whatever the reason for pale skin, turning to self-tanning can be the perfect solution to leave skin looking radiant and glowing at any time of year come sunshine or rain. It’s well known that sun beds are not suitable for skin and have contributed to the rising number of cases of skin cancer, so using tanning products is infinitely safer and wiser. For those who have never tried to tan from the comfort of their home, then here is a quick guide to help.
Start with hair removal
In order to achieve an even tan all over, start by removing hair. Whichever method of hair removal preferred is fine and once this is done, exfoliate the skin to remove any dead layer and ensure a blank canvas to start on. This may seem time-consuming but it does help to ensure that someone doesn’t end up with a patchy tan and dark and light areas. If there’s any tan leftover from a previous attempt this will also help to remove that. For those left with any stubborn leftover self-tanning product, head for the local swimming pool as the chlorine will help the removal process once in the shower. Afterwards use exfoliating gloves and a good body scrub and this will remove all traces.
Straight out of the shower
It is important to time a self-tanning routine to take place straight out of the shower. Deodorants and perfumes can create a reaction and cause those patchy areas best avoided. The best advice is to take a shower and then set the temperature to freezing and brave an excellent cold rinse as this will help close down pores. This is about the most perfect base for tanning that can be created. Be sure not to use deodorants and perfumes immediately after the tanning process as this can cause the tan to develop in a patchy way.
Deal with dry patches
Most people tend to have drier skin on their elbows, knees and sometimes ankles. This causes tans to dry darker in these areas than anywhere else. In order to avoid this, moisturise these areas before applying the tan. A good tan primer is actually the best solution as this acts as a barrier and helps ensure even coverage.
Mirror, mirror on the wall
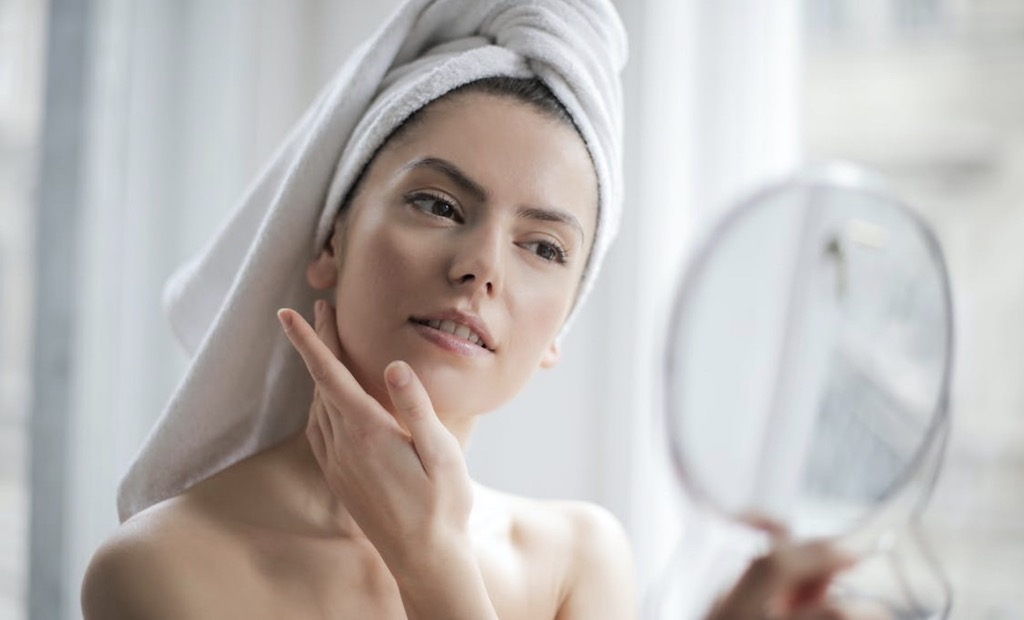
When applying the tan, if home alone, use a mirror. This helps to ensure someone is not missing any parts. When applying a tan, start from the feet and legs and work methodically upwards being sure not to rush. Once finished and happy, it’s still worth a quick double check to make sure areas haven’t been missed like arms undersides and backs of knees.
Tanning mitts
When shopping for a tan, remember to also buy a tanning mitt. Not only does this avoid tanning hands a delightful shade of brown but it’s also possible to distribute the lotion more evenly. A tanning mitt can be less critical when using tanning waters or tanning drops but again it is advisable to stick with them. Apply the tanning product to the bottom of the mat where it meets the heel of the hand and then close the palm to ensure it is evenly distributed across the whole mitt before beginning. Never use a fresh application of tanning lotion on the mitt to work on areas that are known to stain darker such as knees and elbows, leave these areas for when there’s less left on the tanning mitt as this will help to ensure everything comes out the same colour.
The rule of facial tanning
For those planning to apply tanning lotion to the face, then the rule to abide by is two coats on the body but just the one when it comes to the face. There are many specific facial tanning lotions and it is highly recommended to stick to one of these. Remember, when changing skin colour with tanning lotion, foundation will no longer match the face.
The editorial unit









Facebook
Twitter
Instagram
YouTube
RSS